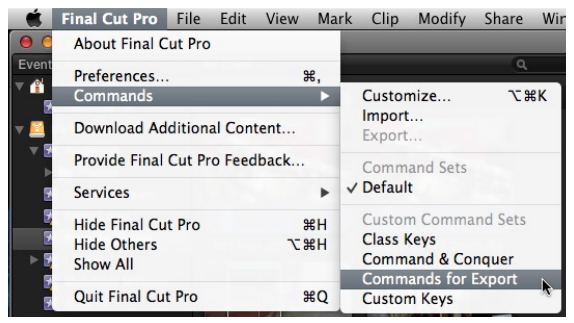
Final Cut Pro has provided keyboard shortcuts for the vast majority of its functions, but there have always been a few features or functions where it made sense to have a keyboard shortcut, but none was pre-built and ready to use. In legacy versions of Final Cut Pro you could add, remove or modify keyboard shortcuts by using the Keyboard Layout tools.
In Final Cut Pro X you use the Commands feature to add, remove, modify, and otherwise manage changes to keyboard shortcuts. In this tutorial you’ll learn how to add new shortcuts for functions that don’t have them, how to create new Command Sets, and how to export and import command sets to access these shortcuts across multiple editing stations.
Missing In Action
Final Cut Pro X comes with a default Command Set that features keyboard shortcuts for the majority of its features. But it’s not comprehensive and a few functions you might like to have quick access to still require a trip to the appropriate menu in the Menu Bar, like creating a new Multicam Clip, relinking files, or moving Projects.
Let’s add a new keyboard shortcut for creating a new Multicam Clip.
1 Launch Final Cut Pro by clicking on its icon on the Mac OS X Dock, the Lion Launchpad, or by double-clicking in the Application Folder.
2 From Menu Bar, click Final Cut Pro and select Commands > Customize, or press Command-Option-K on the keyboard.
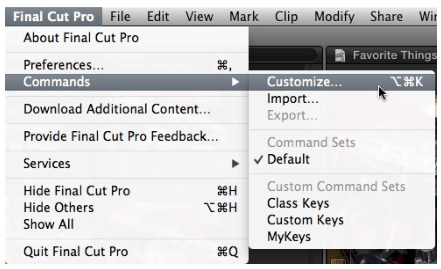
The Command Editor window appears with options organized in three areas. At the top is the Virtual Keyboard. Below that is the Command List on the left and Key Detail on the right.
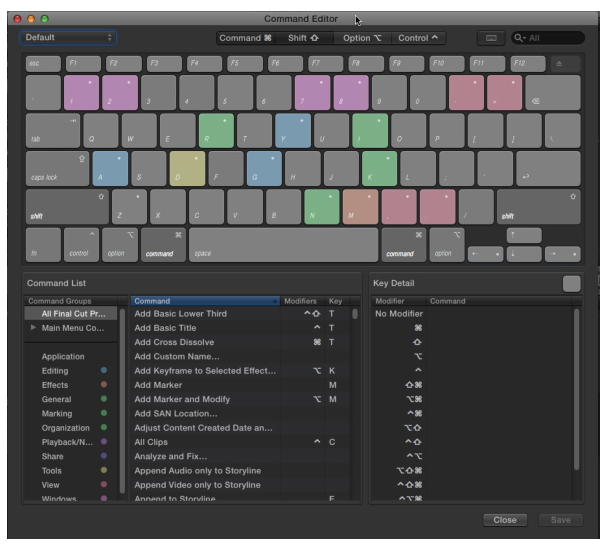
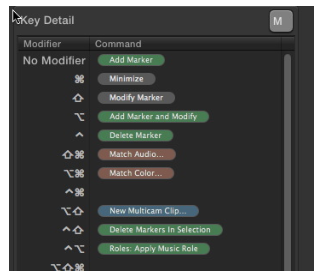
You can quickly identify existing keyboard shortcuts by clicking on any key in the virtual keyboard. All the commands associated with the chosen key appear in the Key Detail list at the lower right. The keys in the virtual keyboard are color coded to identify which command groups they are associated with in the Command List.
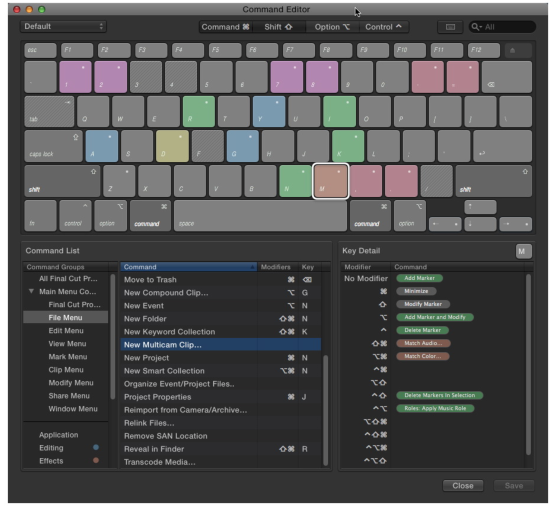
Clicking on the modifier key buttons at the top of the virtual keyboard or pressing the modifier keys on the Mac’s keyboard also helps to locate desired keyboard shortcuts.
To quickly locate a specific keyboard command use the search field at the upper right of the virtual keyboard.
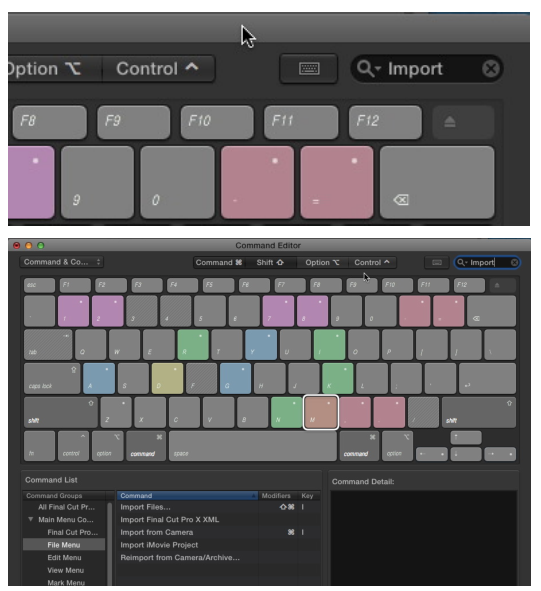
To the left of the search field is the Keyboard Highlight button. Pressing this button focuses the Virtual Keyboard’s highlighted keys to those that correspond to the chosen items in the Command List.
The Command list section organizes FCPX’s commands into command groups on the left and the available commands within a selected command group on the right. Selecting a command group shows just the commands in that group, filtering out all the other FCPX commands. When you open the Command Editor, the All Final Cut Pro Commands group is selected by default.
The Key Detail section displays all the current keyboard shortcuts for a specific key that is selected in the Virtual Keyboard.
Or when you click on a command in the Command List, it displays a brief description of command.

3 In the Command Editor, in the Command List, click the disclosure triangle next to the Menu Bar Commands and select the File Menu Command Group.
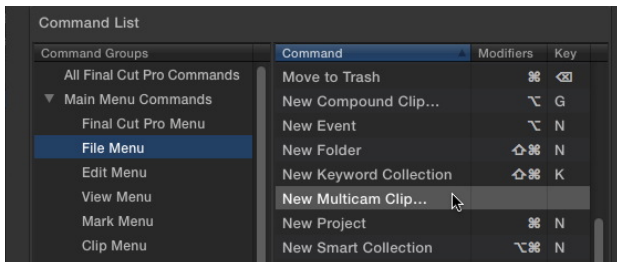
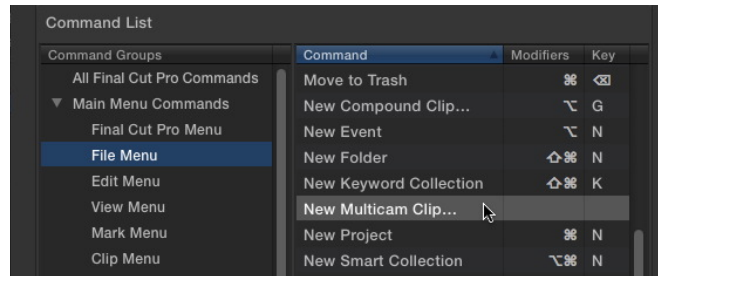
4 In the File Menu Command Group scroll down until you see the New Multicam Clip command.
Notice that there is currently no keyboard shortcut associated with this function.
5 In the Virtual keyboard click the M key. We want to identify a possible unassigned keyboard short cut to use for the New Multicam Clip function.
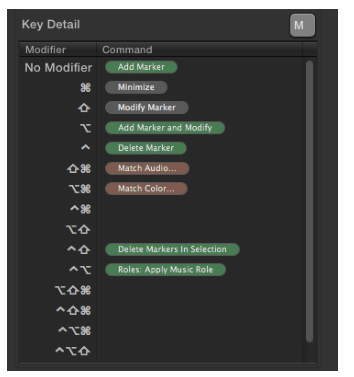
6 Note that the first available choices are Control-Command-M or Option-Shift- M.
7 In the Command List select the New Multicam Clip command.
8 On your keyboard type Option-Shift-M.
9 Since we are still using the Default Command Set a dialog box will appear telling you the Command Set Default is owned by Final Cut Pro and cannot be edited.
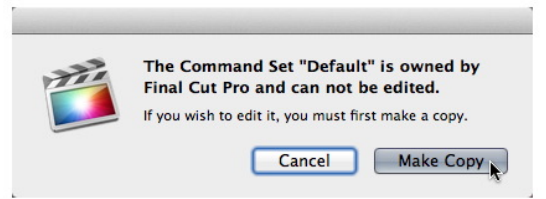
10 Click the Make Copy button to copy the Default Command Set.
11 A sheet will drop down requesting that you name the new Command Set.

12 Type Command & Conquer in the Command Set naming field.

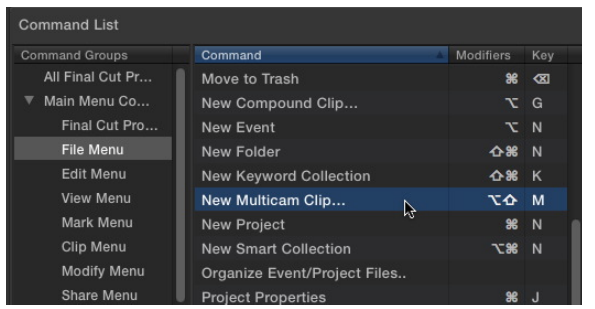
13 Note that in the Command List the New Multicam Clip function now has the keyboard shortcut you just set applied to it. This will also appear under the File Menu in the Final Cut Pro Menu Bar.
CTRL-ALT-DEL
Now you have the basics for creating new keyboard commands and also for replacing existing commands if the current commands don’t make sense to your workflow. For example, if you have worked primarily in an Avid environment, then it may make more sense to change the keyboard commands to reflect the more familiar Avid workflow. Or you may just want to rearrange the keyboard shortcuts because it’s Spring.
It’s safe to experiment with new keyboard shortcut combinations by working with copies of existing Command Sets. Let’s create a new Command Set for the next exercise.
1 From Menu Bar, click Final Cut Pro and select Commands > Customize, or press Command-Option-K on the keyboard.
2 In the Command Editor click on the Command Editor Pop-up Menu at the upper left corner and verify that the Command & Conquer Command set is checked.
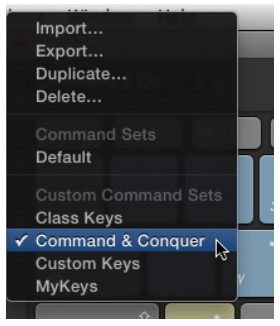
3 In the Command Editor click on the Command Editor Pop-up Menu at the upper left corner and select Duplicate.
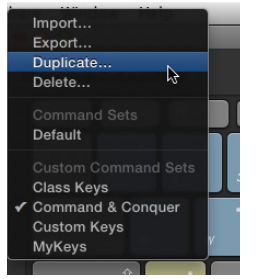
The Duplicate function will create a copy of the currently selected Command Set. A sheet will drop down requesting that you name the new Command Set.
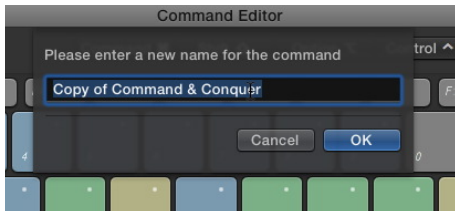
4 In the Command Set naming field type “Commands Step Two” and click Okay.
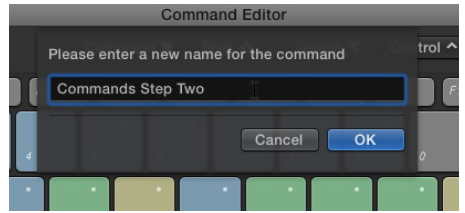
You now have a new Command Set that you can modify to you hearts content. If you don’t like any of the changes you can delete the Command Set by choosing Delete from the Command Editor Pop-up Menu.
Now you’ll change the keyboard shortcut for the New Multicam Clip function modified in the last exercise to a new keyboard shortcut.
1 From Menu Bar, click Final Cut Pro and select Commands > Customize, or press Command-Option-K on the keyboard.
2 In the Command Editor, in the Command List, click the disclosure triangle next to the Menu Bar Commands and select the File Menu Command Group.
3 In the File Menu Command Group scroll down until you see the New Multicam Clip command.
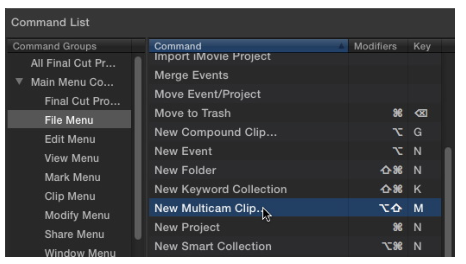
Note the Option-Shift-M keyboard shortcut we added previously.
5 In the Command List select the New Multicam Clip command and press the Delete key on the keyboard.

6 The previous keyboard shortcut is removed
7 In the Command List select the New Multicam Clip function and type Command-Option-Shift-M.

The New Multicam Clip function now displays the new keyboard shortcut.
Command and Conquer the Edit Bay
It’s easy to export Final Cut Pro X Command Sets from one edit station and import them into others. This helps keep available Command Sets consistent across your edit suite and guarantees that the Command Set you’re comfortable with is always available no matter what edit bay you use.
1 From Menu Bar, click Final Cut Pro and select Commands > Customize, or press Command-Option-K on the keyboard.
2 In the Command Editor click on the Command Editor Pop-up Menu at the upper left corner and verify that the Commands Step Two Command set is checked.
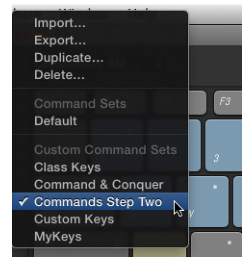
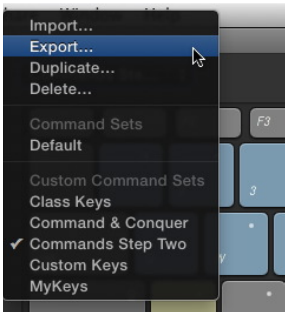
4 In the Command Editor click on the Command Editor Pop-up Menu at the upper left corner and select Export.
5 In the Export Dialog name the file Commands for Export, select the Desktop as the location for the exported file and click Save.
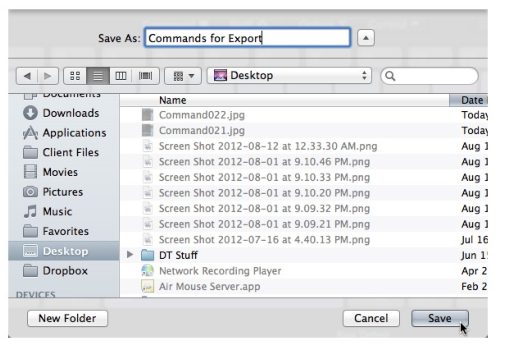
The Current Command Set will be saved to the Desktop with the extension .commandset. From there you can e-mail it to other editors, or copy it to a flash drive or other removable media and then copy it to other editing stations to import it into Final Cut Pro X.
Now you’ll import the saved Command Set.
1 From Menu Bar, click Final Cut Pro and select Commands > Customize, or press Command-Option-K on the keyboard.
2 In the Command Editor click on the Command Editor Pop-up Menu at the upper left corner and select Import.
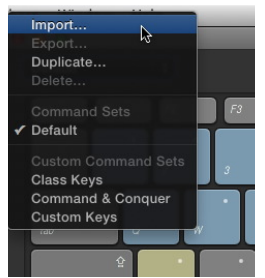
3 In the Import Dialog navigate to the folder where you copied the exported Command Set. In this exercise we’ll use the one we save previously to the Desktop
6 From the Desktop folder select the Commands for Export.commandset file and click Open
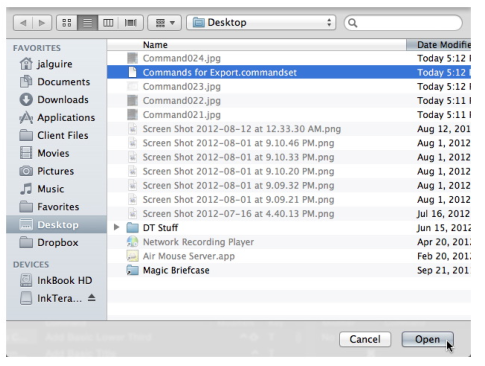
7 A new dialog will appear to indicate whether the import was successful or unsuccessful.
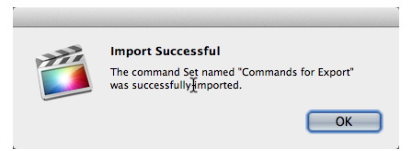
Congratulations, you can now exercise more command over your Final Cut Pro X commands, but we have just one more tidbit to share before we go. You can easily switch Command Sets on the fly from the Final Cut Pro Menu. Simply click on the Final Cut Pro Menu and select Commands and then the desired command set from those listed.
