
Trust me, even on the most well planned production, things can and will go wrong. You might find yourself, some day, all alone with only your trusty Macbook Pro iSight/Facetime camera to document that incredible touching moment between man and killer whale.
Even if it's in a, "it's the only camera I have available on hand to shoot that spontaneous, Big Foot footage that needs to be on YouTube in 20 minutes or my viral video will be inoculated" kind of way; Final Cut Pro X can easily import video from a Mac's built-in iSight/Facetime camera.
To import video from a Mac’s built-in camera:
1. Launch Final Cut Pro X.
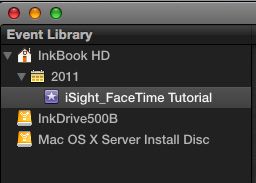
2. In the Event Browser, select an existing Event, or create a new Event to host the imported video.
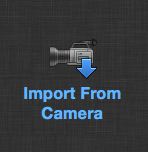
3. Click the Import Media from a Selected Device button, or choose File>Import>Import from Camera. You can also use the keyboard shortcut, Command-I.

The green "camera on" indicator light should illuminate in the middle of your Mac's display bezel, just above the screen and the Import Camera Window ill be dsplayed. Smile.
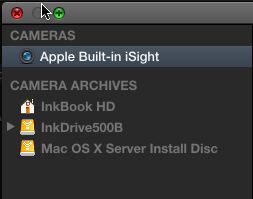
4. From the Camera section of the Device list, select the Apple Built-in iSight or Facetime camera.
5. Look at yourself in the Camera Preview Window. Is your hair good? Makeup? Is your tie straight? Smile.
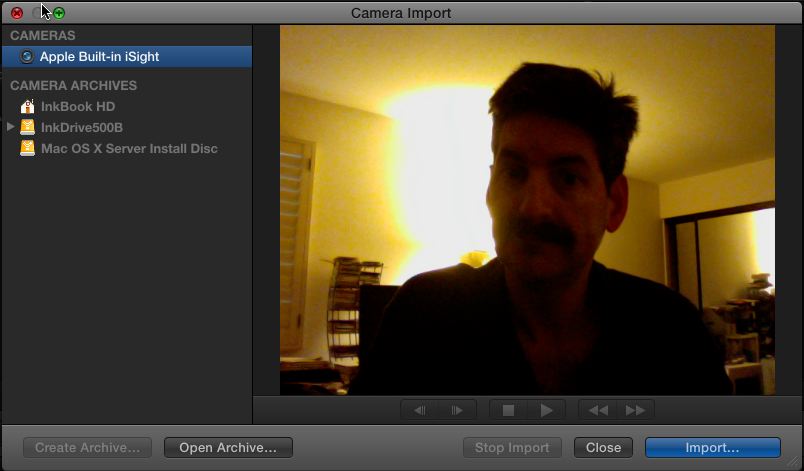
6. To begin importing video, click the import button at the lower right.
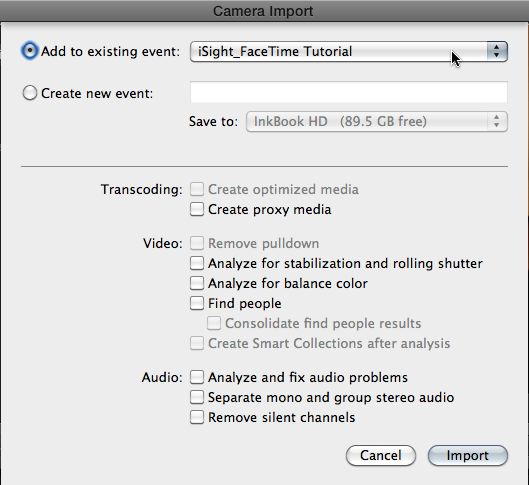
7. In the Camera Import Options sheets that drops down, check that the correct Event is selected in the Event Drop Down Menu, choose the appropriate Transcoding, Video and analysis options, then click Import.
The word "Importing" followed by numbers indicating the amount of video in minutes will appear superimposed at the top left of the video preview.

8. Once your performance is complete, click the Stop Import button.
![]()
9. To capture additional video, repeats steps 6-8.
Click the Import Camera Window's close button when you are done capturing video. This will end the import session and the Camera on indicator light should go out.
![]()
10. Skim through your video clip in the Event Browser. How did you do?
Keep in mind that the quality and the flexibility of the built-in iSight camera is limited since it’s only 1.3 Megapixels. The newer built-in Facetime cameras can shoot 720p HD. The cameras also have limited flexibility since they are mounted in your computer, which makes it harder to shoot in some situations. Finally watch your lighting, that seems to affect the quality of the video from these cameras most of all. You will also want to plug in a good microphone for better quality audio. The built-in microphone is serviceable only if you are in a cool dry place that’s completely quiet.