
A video or film project’s titles provide crucial information to the viewer, whether it’s the opening and closing credits identifying a video or film, the principals involved (the talent and production crew), or lower thirds, the nouns of video, identifying the people, places and things being viewed. Subtitles play a significant role, particularly in editorial or documentary work, in a number of ways. Subtitles make clear, speech or dialog that is difficult to hear or understand, as when people mumble or use unfamiliar dialects; provide language translations for viewers to better understand dialog in foreign languages, especially if the video is produced in a language not native to the viewer; and to make your film or video more accessible to viewers with hearing impairments.
While the process of creating subtitles is simple, it is often time consuming and tedious work. Any number of workflows can be employed to streamline the process, from leveraging the many software packages designed specifically for creating subtitles, to the simple, brute force typing of many interns. Regardless of how you create subtitles, it’s invaluable, if not exciting work.
So what is the best way to provide subtitles for a project? This tutorial will be a guide towards not getting torpedoed by subtitles.
I Love It When a Plan Comes Together
Having a plan is key to the success of any aspect of a project and prepping for subtitling is no exception. You should identify going into the project what the needs and requirements are going to be with regards to the project’s subtitles. Some basic questions to consider include:
Are you subtitling the entire work or just portions of it?
What languages do I need to support?
Where can I get translators for the supported languages?
Who will be checking/verifying the translation/transcription?
What did that person actually say?
Will you be able to speak with the speaker who actually said that?
How else can I find out what that person said?
Should I hire a lip reader?
Who will be adding the titles to the video?
And the dreaded: What is my deadline?
Working from a script is infinitely easier than transcribing audio, but in either case, having a text file of the words to be subtitled simplifies creating the actual, being able to copy and paste rather than constantly retyping.
You also need to double-check and verify the work of your transcribers and translators to ensure that what is said is correctly transcribed and translations have the correct references and context for a couple of reasons. First, while American English has only one word for snow, various Eskimo languages have up to seven. You want to be sure that the correct references be made. Second, you need to allow for when the talent’s dialog varies from the written script.
Never Underestimate a Good Mechanic
Now we’ll dive into the mechanics of creating a subtitle in Final Cut Pro and then later we’ll highlight a few procedures that can improve your subtitling workflow.
1. From the Dock or the Applications Folder, Launch Final Cut Pro.
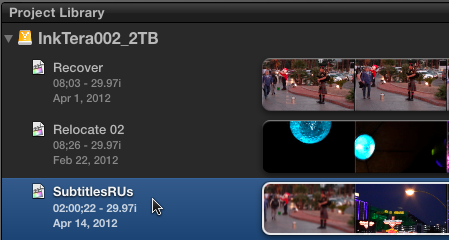
2. In the Project Browser double-click to select the project to be subtitled.
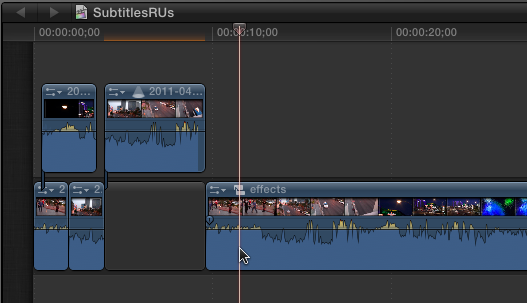
3. In the Project Timeline play the project until you get to the first bit of dialog that needs subtitles. Listen to the entire line of dialog before you create the title then move the playhead back to the beginning of the line.
4. In the Toolbar, click the T button to display the Titles Browser. You can also choose Window > Media Browser > Titles. The Titles button will change to blue.
![]()
5. In the Titles Browser, click to select the Bumper/Opener category.
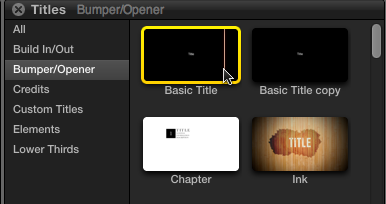
Titles are organized into several categories to make it quicker and easier to locate an appropriate title for your needs.
6. In the Titles Browser, double-click the Basic Title to add it to your project at the current playhead location.
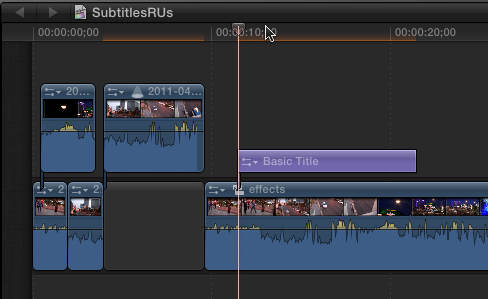
A light purple Title clip appears connected to the video clip of the main storyline at the playhead location. Optionally, you could drag the Basic Title from the Titles Browser to the Project’s playhead location.
Tip: You can add the Basic Title at any time by pressing the Control – T keyboard shortcut, or Press Control – Shift – T to add the Lower Third title. The titles will be connected to the primary storyline clips at the current playhead location.
Now you’ll edit the title and its default attributes to suite your specific needs. But before you start editing you should add the title safe indicators to the viewer and open up the Inspector.
1. In the Viewer click the Viewer Display Options button and select Show Title/Action Safe Zones from the Menu.
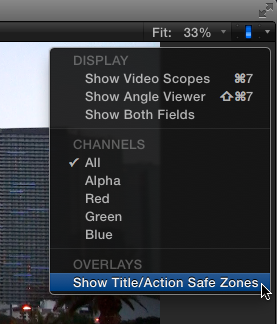
Two yellow concentric rectangles appear in the viewer as guides for placing text onscreen so that it can be viewed properly on any display. By keeping your titles within the inner rectangle you ensure the titles are visible no matter how the video is viewed.
2. In the Toolbar click the Inspector button, or press the Command-4 keys on the keyboard, to open the Inspector.
![]()
The Inspector provides access to the attributes you can modify for your titles. Now you can start editing the title.
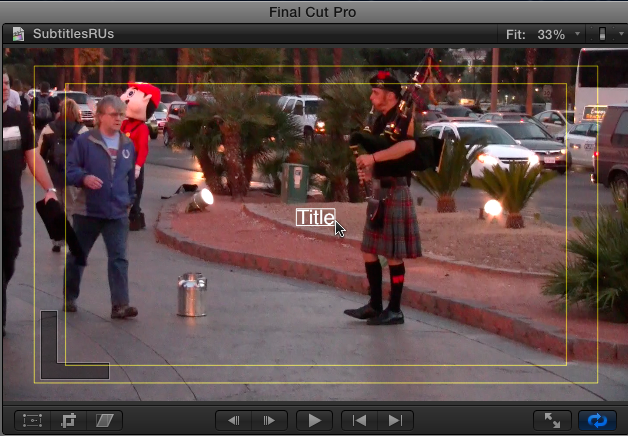
3. In the Timeline, select the title, and then in the Viewer, double-click on the Title to enter the edit title mode.

You can now make the necessary changes to the subtitle. Notice that the text is already selected and ready to be replaced with the actual title text.
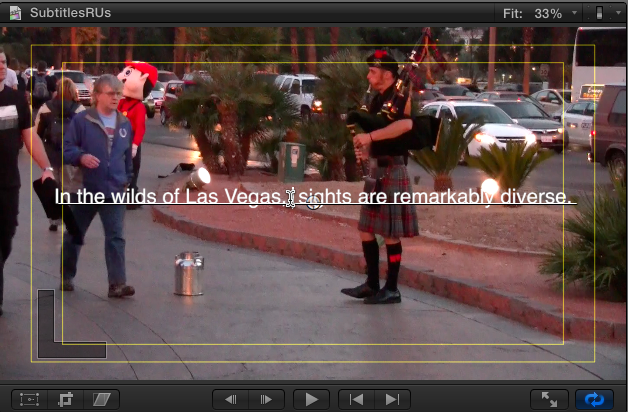
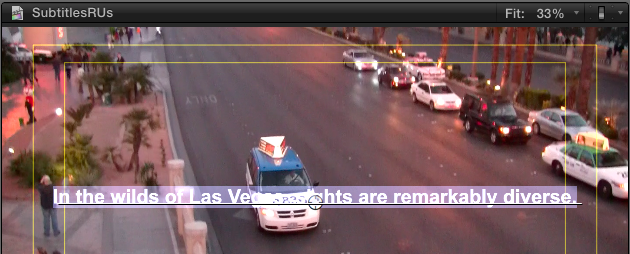
4. Type your title text. In this example I’ve typed, “In the wilds of Las Vegas, sights are remarkably diverse.”
5. In the Inspector click the Title Tab at the top if it’s not already selected.
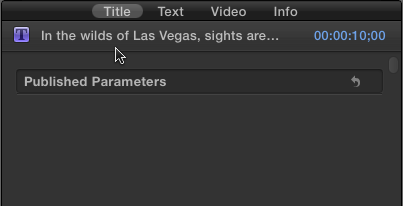
The Title Inspector has four tabs across the top; Title shows the title text and duration as well as any published parameters from Motion. Many of Final Cut Pro’s effects, including titles, are actually Motion projects, which can be customized in Motion. An upcoming tutorial will discuss how to do just that. The Text tab is where you’ll make most of the adjustments to the title text attributes. The Video Tab displays the Title’s video attributes and Info displays the Title’s metadata.
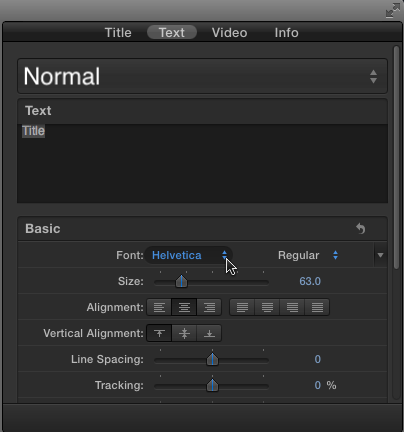
6. Click the Text Tab to select it.
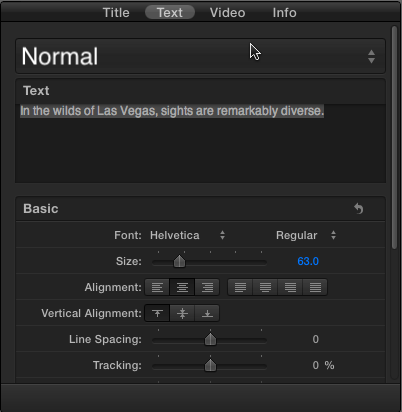
The Text tab has four sections, the Style Menu, Text Field, Basic and Effects. There are many attributes in this tab that can be changed, but the Style Menu speeds up the process by changing many attributes as a group. The Basic section lets you make typeface and font changes as well as alignment and spacing adjustments. The Effects section has settings for Face (changes to Fill and Opacity), Glow, Outline, and Shadow. The Text Field provides another way to modify the actual text of a title besides the Viewer. We’ll select a style and then make some additional manual adjustments.
7. In the Text Inspector, click on the Style Menu, which currently says Normal, and briefly scroll thought the list of styles to see what styles are
already available, then choose Basic Text + Shadow.
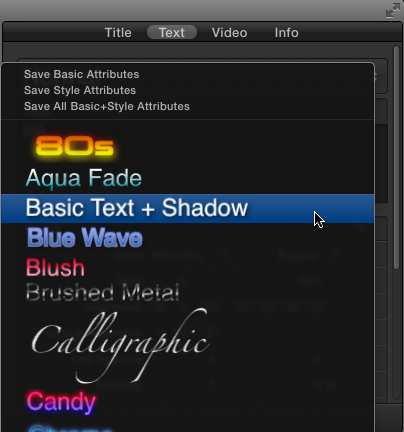
The Basic Text + Shadow style set some basic type and Face attributes and adds a drop shadow to the text.
If you don’t see any styles in the Style Menu then you will need to install the additional Final Cut Pro Content. Simply run Software Update, or download from Apple’s Support site and install manually.
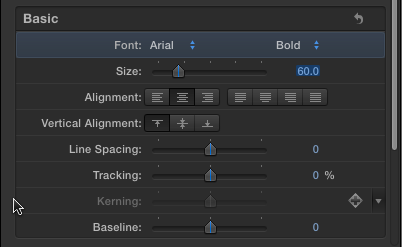
8. In the Basic section of the Text Inspector make the following changes:
From the font Menu choose Arial Bold.
Set the Size to 60.
Leave the remaining settings at their defaults.
9. In the Viewer drag the Position Button down to reposition the title so that it sits on the bottom of the inner Title Safe rectangle.
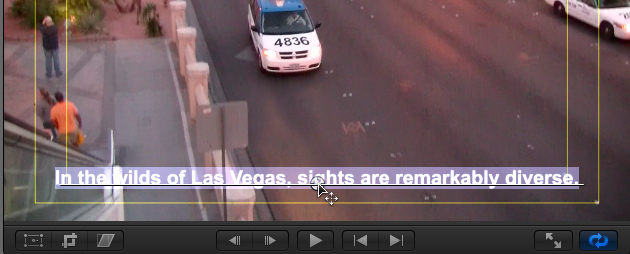
Most subtitles sit at or near the bottom of the screen. To keep the title centered, enable snapping (choose View > Snapping or press the N key). With snapping enabled, dynamic guides will appear as you drag to help align titles or other video elements within the video frame or with each other.
10. Press the Escape key on the keyboard to exit the text-editing mode.
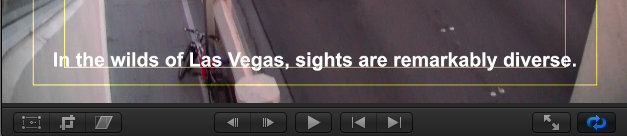
11. You have successfully created the first subtitle in your project, only 497 more to do.
Second Verse Same as the First
To add additional subtitles simply do the following:
1. In the Timeline, select the current title and press Command – C to copy it.
2. The current title has all the necessary formatting, so copying and pasting the modified title means all you have to do is change the text.
3. In the Timeline play the video until the next line of dialog to be subtitled.
4. Press Command – V to paste the copied title at the current playhead location.
5. In the Viewer, double-click on the title and type in the new text.
6. Press Escape on the keyboard to exit the title-editing mode.
7. Repeat Steps 1-6 until you have added all the required subtitles.
Now that you have the mechanics of creating subtitles, let’s look at some strategies for managing the subtitling workflow. While you could just keep doing the previous steps, because of the nonlinear nature of many projects, it may not be the most efficient method.
See Spot Subtitle, Run Spot Run
One thing that can help speed up a subtitling workflow is spotting. Spotting is the process of viewing the video and determining the placement of the subtitles, usually recording the starting and ending timecode for the subtitle’s location along with cue words from the dialog for reference. You can record the spotting data in a database or spreadsheet, which can then be used to subtitle the clips later.
You can also spot the subtitles in Final Cut Pro by adding markers to clips in the Timeline, for at least the starting subtitle position, or both beginning and ending, if you so choose.
If you don’t have the actual subtitle text finalized, you can still add placeholder subtitles, actual subtitle clips in their respective locations in the Timeline, but with dummy text instead of the final text. Once the final text is approved, just go back and change the text in the subtitles.
Whenever possible, have a text file with the dialog translation or transcription that you can work with. Copying and pasting titles from a word processor into Final Cut Pro is easier than having to retype each line manually.
The Overlapped and the Long-Winded
Finally, there are two situations that make subtitling some passages a bit difficult. One is overlapping dialog, where two or more characters are speaking at the same time, or background audio, like from a radio or television, running at the same time as the dialog. The other is when someone is speaking a long passage or speech without many breaks.
The second case is easier to manage by carefully breaking up the text. The first case may require multiple lines of subtitles on screen, which is okay, but you want to keep it to two whenever possible and no more than three otherwise the titles take over the screen. For background elements, you may need to add an identifier, radio, television, or woman behind door, etc., to the subtitle, to help indicate what’s producing the dialog.
However you create them, subtitles are an important way to make your project more accessible to viewers.